
In this blog, I’ll teach you how to change the startup disk on Mac. When you start up your Mac, it will load the operating system (OS) from the selected startup disk, hard drive, or partition. This startup disk must contain the macOS or another compatible operating system.
What is a startup disk?
A startup disk is a storage device that contains the files necessary to boot up a computer. It can be a hard drive or USB flash drive and is used to load the operating system and other necessary files when the computer is turned on. Some/most computers have a built-in startup disk with the operating system pre-installed as Mac does.
How to change your Startup Disk on Mac with System Preferences
Here’s how to change your Startup Disk on Mac using System Preferences:
- Firstly you need to turn your Mac on using the power button
- Then press the Apple menu in the top left of your Mac’s screen
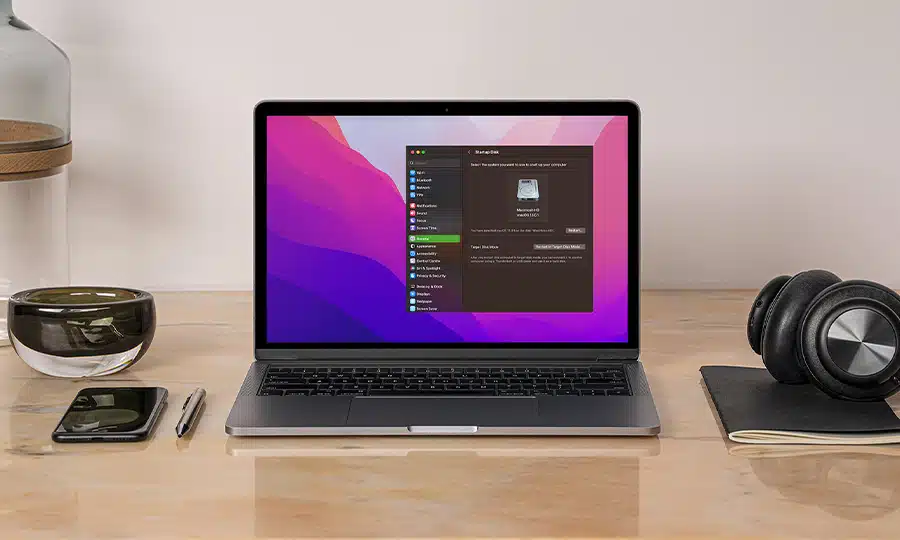
- Select General located in the sidebar
- Click the Startup Disk option located on the right-hand side
- Select the Startup Disk icon you’d like to use
- Then click ‘Restart in Target Disk Mode…’

How to change your Startup Disk on Mac upon booting up
- Connect the external drive you want to use as your Startup Disk on Mac
- Then press the power button on your Mac to turn it on
- Then immediately press and hold the Option key. Once you’ve done this correctly you’ll see a screen showing all of the available Startup Disks for your Mac
- Select the startup disk you use want to use
- Finally, click the arrow directly underneath the drive.
Once you have completed all of the above steps your Mac will then boot up from the startup disk you have selected.
This is a brilliant and easy way to select your Mac’s Startup Disk before it turns on. This method specifically works well when you want to troubleshoot any issues with your Mac, especially if you are struggling to boot up your Mac using the primary hard drive to access the System Preferences.
Check out more tech tips here!

